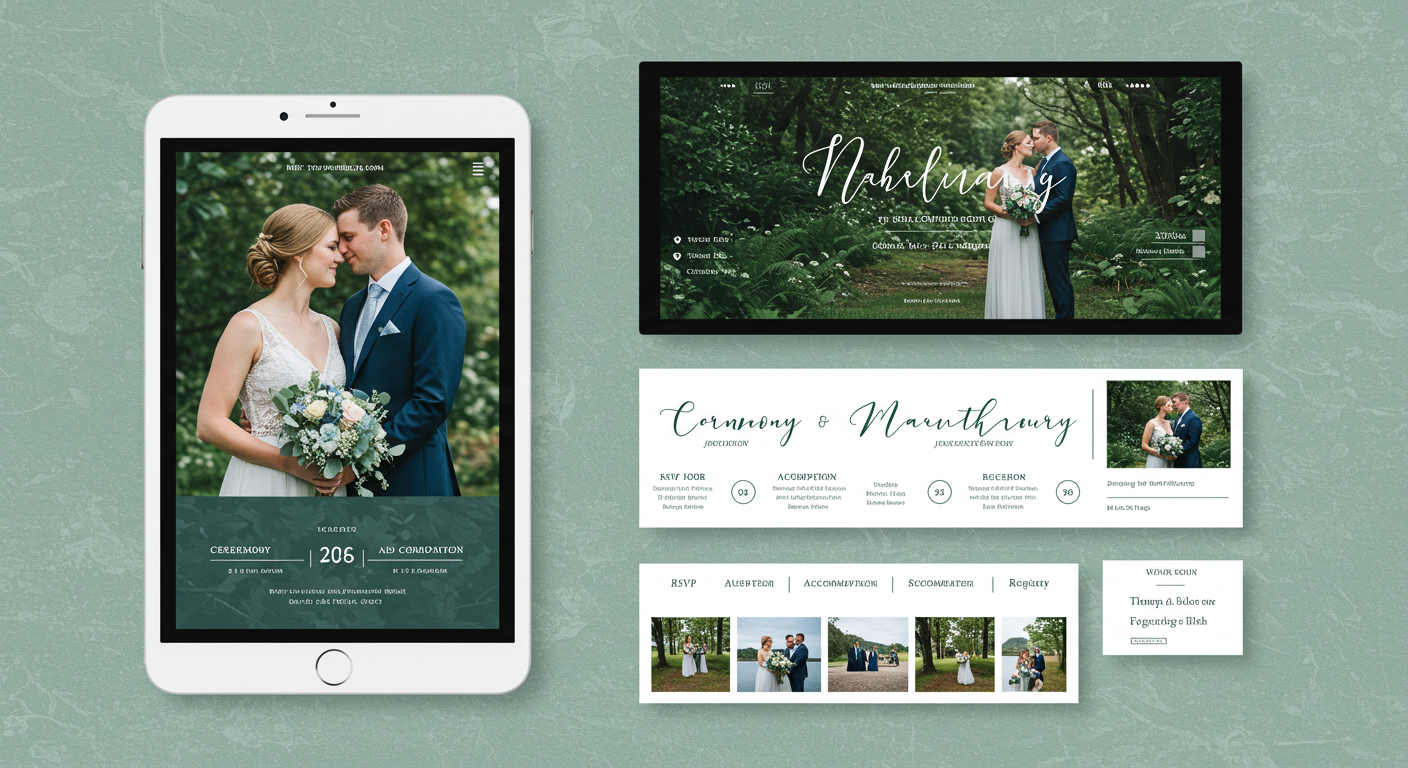
Congratulations on your engagement! As you dive into the exciting world of wedding planning, one of the first and most rewarding tasks you can tackle is creating your wedding website. Think of it as your digital hub for everything related to your big day. It’s the perfect place to share your story, provide essential info for your guests, and manage your RSVPs—all while saving you from answering the same questions a hundred times.
If you’ve never built a website before, don’t worry. This complete beginner’s guide to wedding websites will walk you through the entire process, making it simple, fun, and totally stress-free.
Why Every Couple Needs a Wedding Website
Before we get into the “how,” let’s talk about the “why.” A wedding website is so much more than a digital invitation. It’s your most powerful planning tool.
- Centralize Information: It keeps all your wedding details—like the schedule, venue addresses, dress code, and hotel recommendations—in one easy-to-find place for your guests.
- Save Time and Money: You can cut down on printed inserts in your invitations (saving on printing costs) and significantly reduce the number of texts and calls from guests asking for details.
- Simplify RSVPs: Online RSVP features make it incredibly easy to track who’s coming, their meal choices, and any other info you need, all without chasing down paper response cards.
- Tell Your Story: This is your chance to share your love story, post adorable engagement photos, and introduce your wedding party in a more personal way than a formal invitation allows.
- Offer a Better Guest Experience: From travel tips for out-of-town guests to your registry links, your website makes it easier for everyone to celebrate with you.
Step 1: Pick Your Platform
The first step is choosing where to build your site. Thankfully, there are many user-friendly platforms designed specifically for weddings. They offer pre-designed templates that make the process drag-and-drop simple.
Some popular options include The Knot, Zola, and Joy. These are fantastic because they are built with weddings in mind, offering integrated RSVP tools and registry features, and best of all, they are free to use.
If you have a keen eye for design and want more creative control, you might also consider general website builders like Wix or Squarespace. They offer stunning templates and incredible flexibility, though they may have a small cost.
For your first website, a dedicated wedding platform is often the easiest and most straightforward place to start.
Step 2: Choose a Design You Love
Once you’ve picked a platform, it’s time to choose a template. This is the fun part! Browse through the options and select a design that matches the theme and vibe of your wedding. Whether you’re having a rustic barn celebration, a modern minimalist event, or a formal black-tie affair, there’s a template for you.
Look for a design that reflects you as a couple. Most templates allow you to customize colors and fonts to match your wedding palette, creating a cohesive look from your invitation to your website.
Step 3: Add Your Essential Pages
A great wedding website is organized, clear, and easy to navigate. You’ll want to create a few key pages:
- Our Story: This is where you make it personal. Share how you met, the proposal story, and a few fun facts. Add your favorite engagement photos to bring it to life.
- The Details: This is the most critical page for your guests. Clearly list the date, time, and full address for each event (ceremony, reception, rehearsal dinner, etc.). Don’t forget to include the dress code!
- Travel & Accommodations: Be a gracious host by helping your guests plan their trip. Provide details on hotel room blocks you’ve reserved, including booking codes and deadlines. Include airport information and driving directions.
- RSVP: This feature is a game-changer. Guests can easily reply online, and you can see all the responses collected in one handy dashboard.
- Registry: A discreet and standard page to share where you are registered. It’s convenient for guests and feels more polite than including info in a physical invitation.
- FAQ: Anticipate your guests’ questions. Are kids welcome? What’s the parking situation? Is there a deadline to RSVP? Answering these here will save you so much time.
Step 4: Make It Personal and Practical
Now, fill your pages with content. Write in a warm, friendly tone, as if you’re talking to your guests directly. Use high-quality photos that you love. If you’re using a map, make sure it’s accurate and easy to read.
A pro tip for the RSVP page: collect not just a “yes” or “no,” but also meal selections, dietary restrictions, and even song requests to get the party started!
Step 5: Preview, Polish, and Share
Before you share it with the world, take a moment to preview everything. Check for typos, test all your links (especially to your registry), and make sure the RSVP function works perfectly. Ask your maid of honor or a family member to look it over—a fresh set of eyes always helps!
Once it’s perfect, it’s time to launch. Share this URL on your save-the-dates, formal invitations, or via a group email or text.
You’ve Got This!
Building your first wedding website might seem technical, but with the right tools, it’s an enjoyable and highly rewarding part of the planning process. It will keep you organized, impress your guests, and become a cherished digital keepsake of your engagement season.
So take a deep breath, pick a platform, and start creating. Your beautiful, functional wedding website is just a few clicks away

